I had been putting it off for a while, but this was the weekend to make a magnetic chalkboard wall in the kitchen. My kids Bubbe pointed out one day that this spot in our kitchen would be perfect if it had magnetic walls.
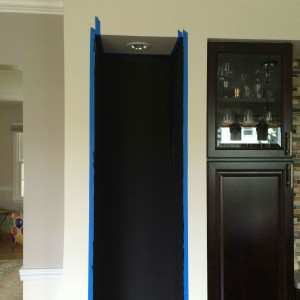
The old owners of our house were wine enthusiast and had a little alcove built into their kitchen for a beautiful rod iron wine rack that housed many a bottles of vino. When they moved out they took that wine rack with them. We were left with a tall and very narrow nook in our kitchen which houses our garbage can. Did I mention that there is a spot light in there too – fancy garbage can location.
Over time I started decorating the nook with my children’s artwork. It is a great place to rotate art and display their latest projects which they proudly point out to friends and guests who visit our home.
My husband was taking the kids over to the local nursing home where we volunteer, so I had three free hours!
The walls were already clean, so first I taped off the area and laid down some old t-shirts to keep splatters from landing on the floor and baseboard.
Next I put on disposable gloves – buy a lot. The magnetic paint is very thick and gloopy so you will be switching out of your gloves a lot. And you will need these supplies.
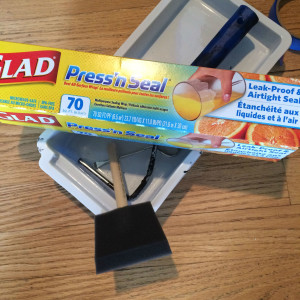
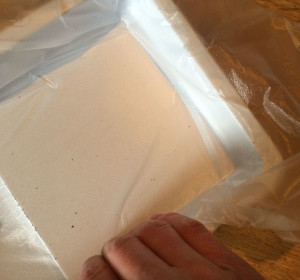
Here is a great tip AND a great time saver. Put Press n Seal inside your paint tray like this.
Clean up is so much easier.
Then I followed the magnetic paint application instructions. Be forewarned this is a very very messy process. I was not entirely impressed with the product I used so I am not showing it here. If I were you do some more research before you buy it. Also, it is EXTREMELY smelling, make sure to ventilate your house well.
After you have applied your many coats of magnetic paint and they have dried for a few hours you can move the the much easier to apply chalkboard paint.
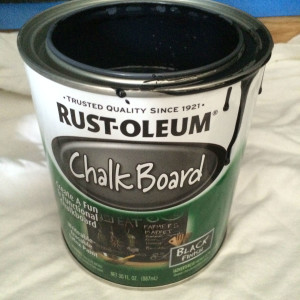
I bought this RUST-OLEUM chalkboard paint at the local ACE Hardware store and loved it so much I want to paint more walls with it. Good endorsement, huh?
Again I taped off the area and laid down old t-shirts.
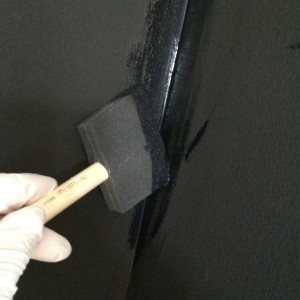
I cut into the corners with a brush, then rolled on the chalkboard paint with a foam roller.
This was key to keep a smooth application and thus keep as much magnetic strength as possible. After two thin but fully covering coat I was done.
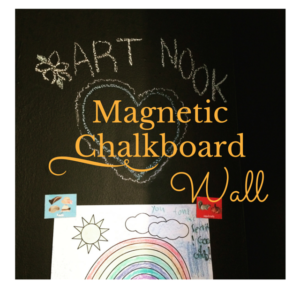
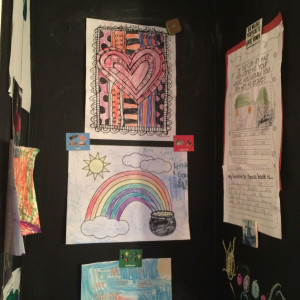
This is a results before artwork.
On top I have some of my kiddies’ projects displayed.
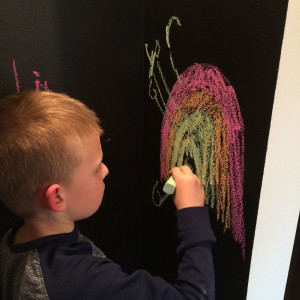
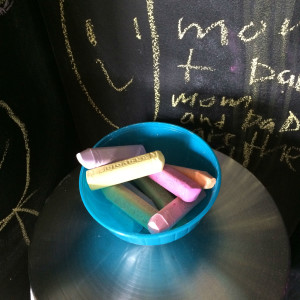
Needless to say my kids were dying to draw on the walls.
When we want change up the cove a wet rag clears off the chalk and more artwork can be added. I leave chalk out for those creative moments.
Over all this project took me about 7 1/2 hours. 2 1/2 for the magnetic paint (painted on 4 layers), 4 hours for drying, then 1 hours for the chalk board paint.
Here is what you need to make a magnetic chalkboard wall:
- painters tape
- magnetic paint
- 2-3 disposable foam brushes
- 4 disposable foam roller brushes and 1 roller arm
- roller pan for paint
- chalkboard paint
- lots of wraps or drop cloths






Leave a Reply