If you were to take a look at my Pinterest account (and I surely hope you do “My One and Only Home” but-of-course,) you’d see quite a few Pins involving milk paint. With milk paint you get a broad spectrum of furniture finishes that incorporate incredibly well into styles from Country French to Modern Rustic. There a few pieces that I own that have been waiting for their moment to shine and the treatment milk paint gives would make their unique shapes and styles really show.
First, I headed to the the local hardware store, but had sticker shock when I saw the prices for just a quart size can of milk paint. Determined, I headed back home and went directly to my basement.
In a corner of my basement stands neat stacks of half empty paint cans I used in my home (and previous home) for all interior walls and trim. Boy am I happy I kept them!
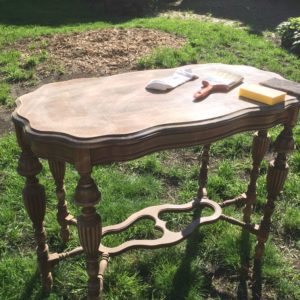
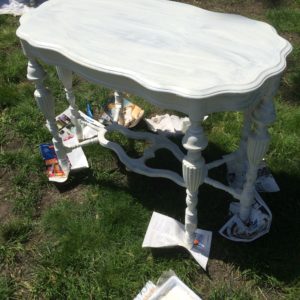
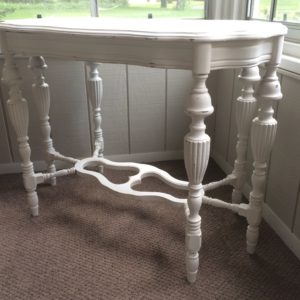
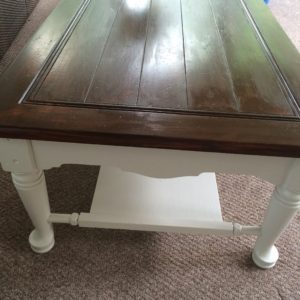
On a nice sunny cool day I set up shop back behind my sun room. I took the two pieces I wanted to milk paint out there. One dated pine coffee table (which an old room and I purchased for $20 and four blocks back to our apartment in Chicago, fond memories!) and a lovely flood damaged cadenza my dad found and gave to me.
The rule here is that you have to be OPEN MINDED. I had a neighbor come by to see my work and was shocked tried this on two pieces of furniture I had already adored. But I was more than willing to work with the outcome.
Here are the supplies you will need:
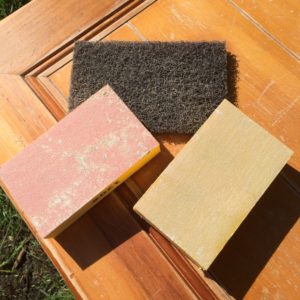
Fine Sandpaper
Dust Mask – I wear one when ever I sand
Cloth rags – have at least 4 ready to go, preferably old t-shirts
Newspapers/ paint cloths – to put under your furniture pieces
Flat, egg shell, satin latex paint – I went with off white to pale gray
Indoor or outdoor paint primer – The great part here is you can always use outdoor primer if you are using it indoors. That is what I had, so that is what I used.
Furniture varnish – polyurethane is perfect. This is where you may have to spend money. In my case I had to go back to the hardware store and by a small can of satin finish polyurethane
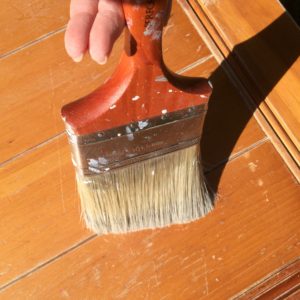
Paint Brushes
First off, I lightly sanded and cleaned the two pieces with a soft slightly damp cloth.
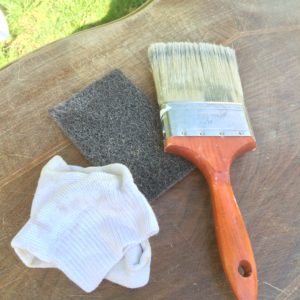
Use a brush and soft cloth to clean off all the dust. Old t-shirts are perfect cloths for this because they don’t shed much lint.
The brush really gets into the cracks.
Next you mix up your paint. I’d recommend using latex or acrylic, its much easier to work with than oil paint. I went through my paint arsenal and grabbed the paint primer and wall paint.
Prime the piece with one coat of primer.
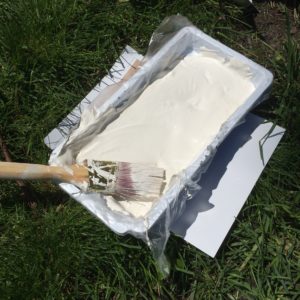
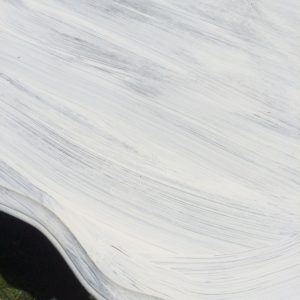
While it dries, mix up your old wall paint. I wanted a very pale off-white for my cadenza so I mixed white paint with a touch of cream paint I had. Then use a clean paint brush to dry brush the paint onto a small section of the wood to determine who much paint you want to add. It its too little paint, add a thicker amount on that spot until you get the desire amount you want. Continue to coat the whole piece of furniture.
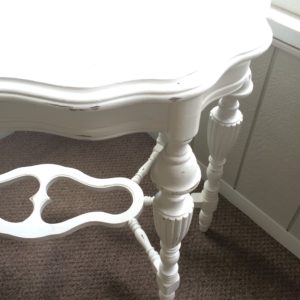
Once the paint has dried you can choose to sand the piece to give a deeper patina. Take the fine sandpaper and start by lightly sanding areas that would get warn over time, such as the corners, the edges, etc. This is where your creative edge comes in. Take your time and decide how much paint your going to want to sand off to get the look you want. If you over did it, its as simple fix by painting over the area and starting again.
I highly recommend coating your finished furniture with polyurethane. This will seal the paint and any of the exposed old wood.
I used two coats of polyurethane the top of this piece. This is just the first coat, so you can tell you really do need two coats for an even finish.
Make sure to allow time for the paint and polyurethane to fully dry before using it. I sat my furniture in my screened in porch for three days before I brought them inside to be used.
You can get really creative with this technique, or take a very modest approach like I did. Either way, its your amazing work!




Leave a Reply